Please check PCB functionality before assembling.

Apply 3M rubber feet to the bottom of the case and brass accent.
Remove (2) accent screws with provided hex key.

Remove (8) case screws with provided hex key.

Flip the keyboard over and remove the top case.

Connect JST cable to the USB-C daughterboard. Place daughterboard in the bottom case and secure in place with (4) phillips screws.
Remove (12) foam gaskets from adhesive sheet and apply to the case cutouts.
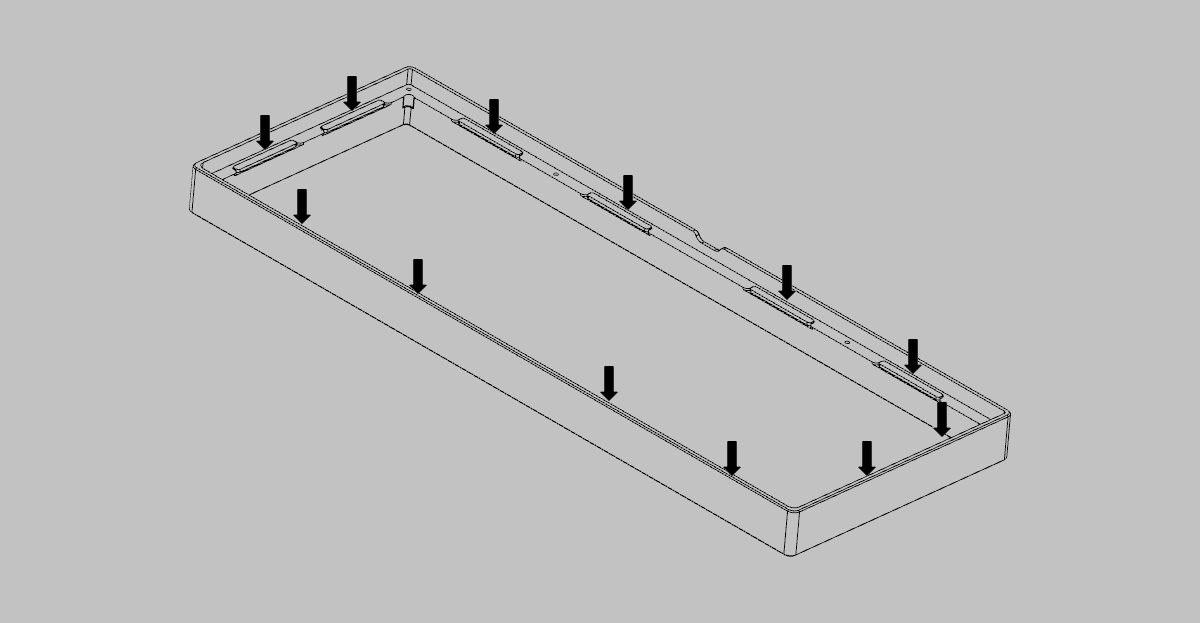
Flip over the top case and apply (12) foam gaskets to the gasket cutouts.

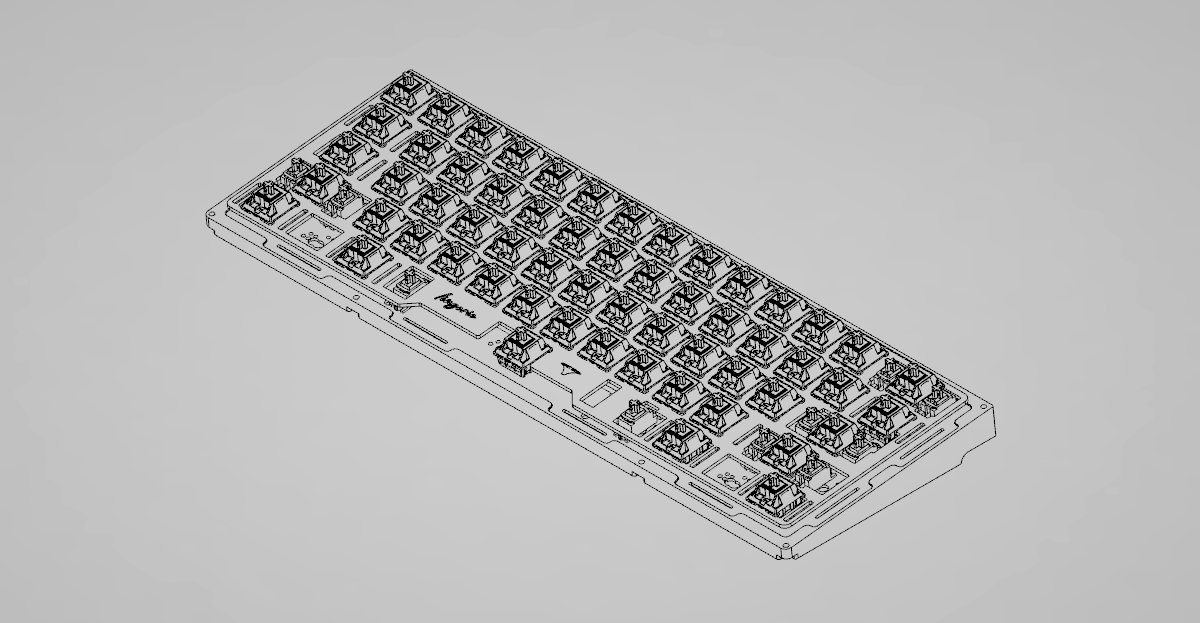
Option 1: Install MX-style switches and PCB-mount stabilizers to the provided switch plate and PCB.

Option 2: Install the switches and stabilizers directly to the PCB without the use of the switch plate.
Choose this option for a softer and unique typing feel and sound. 5-pin switches highly recommended. As there is no plate to help with alignment, it is suggested to install keycaps to check for straightness.
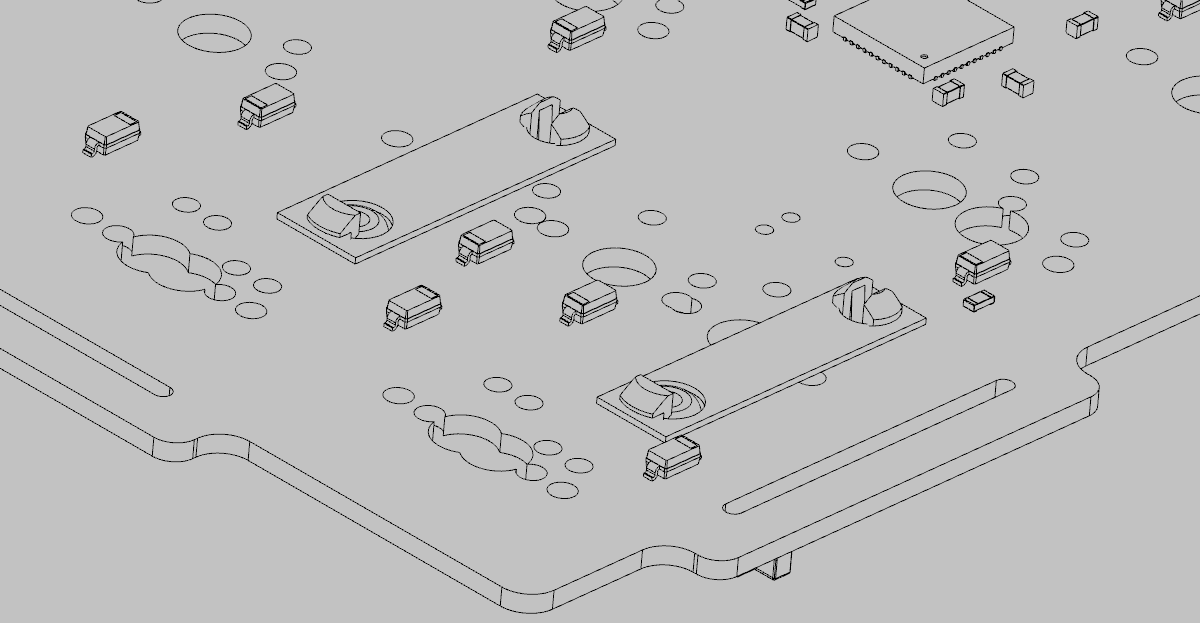
Optional: Use the provided 0.4mm stabilizer spacers to help secure the stabilizers in place. This can be placed on either the top or bottom of the PCB.
Recommended for Cherry or GMK stabilizers.
Attach the other end of the JST cable from the USB-C daughterboard to the back of the main PCB.
Route the cable along the bottom case cutout and place the PCB on the bottom case, aligning it with the gasket cutouts. The PCB should slot in nicely.

Slide the top case onto the bottom half, sandwiching the PCB between both gasket sides. Grip and compress both case halves down.
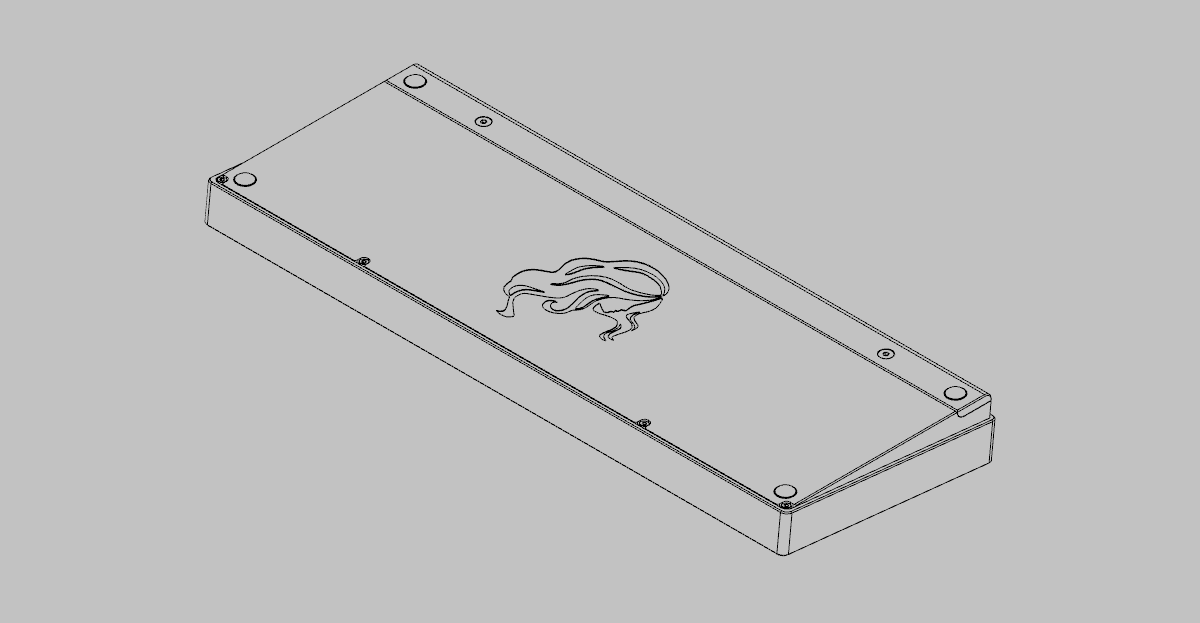
While still gripping the case together, flip the keyboard around. Reinstall screws and brass accent, making sure the gaskets are compressed during reassembly.
Do not overtighten screws!
Enjoy your nue keyboard!